Azure-AD
Setting up Azure Active Directory is pretty straight-forward, but it helps to know the exact steps to follow, as configuraing SAML can be a bit daunting.
To add Exivity to your Azure AD applications, follow these steps:
- In your Azure portal, go to the Azure Active Directory service:

- In the sidebar, click Enterprise applications:

- Click the New application button:

- Click the Non-gallery application button:

- Enter a name for the new application (i.e. My Exivity instance) and click the Add button.
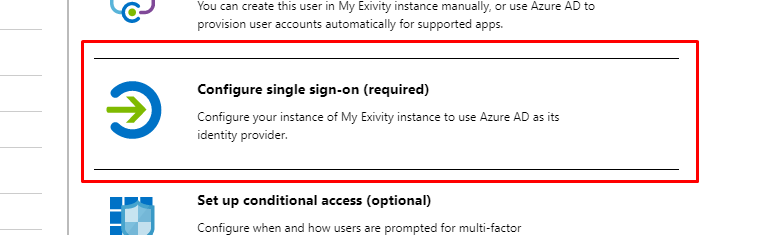
- Click the Configure single sign-on (required) button:
- From the Single Sign-On Mode dropdown list, select SAML-based Sign-on:

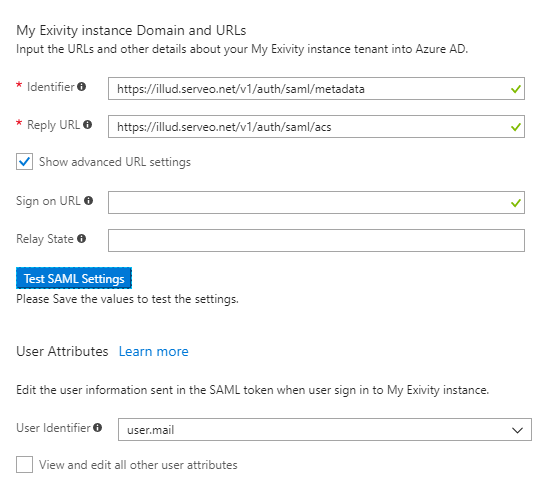
- Now enter the following details on this page:
| Azure AD setting | Use value |
|---|---|
| Identifier | Exivity Entity ID / Metadata URL endpoint (see endpoints) |
| Reply URL | Exivity Assertion Consumer Service endpoint (see endpoints) |
| Show advanced URL settings | Checked |
| Sign on URL | Optional, you can enter the URL for the Exivity interface here. |
| Relay State | Leave empty |
| User Identifier | Select user.mail |
The resulting page could look something like this:
- Click the Configure [your application name] button:

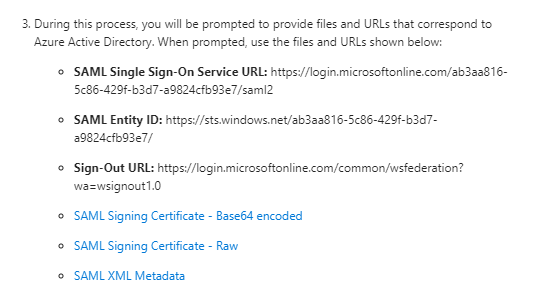
- A new pane will open with instructions. Navigate to the Exivity SAML configuration (see configuration) and copy the following options from the pane in your Azure portal:
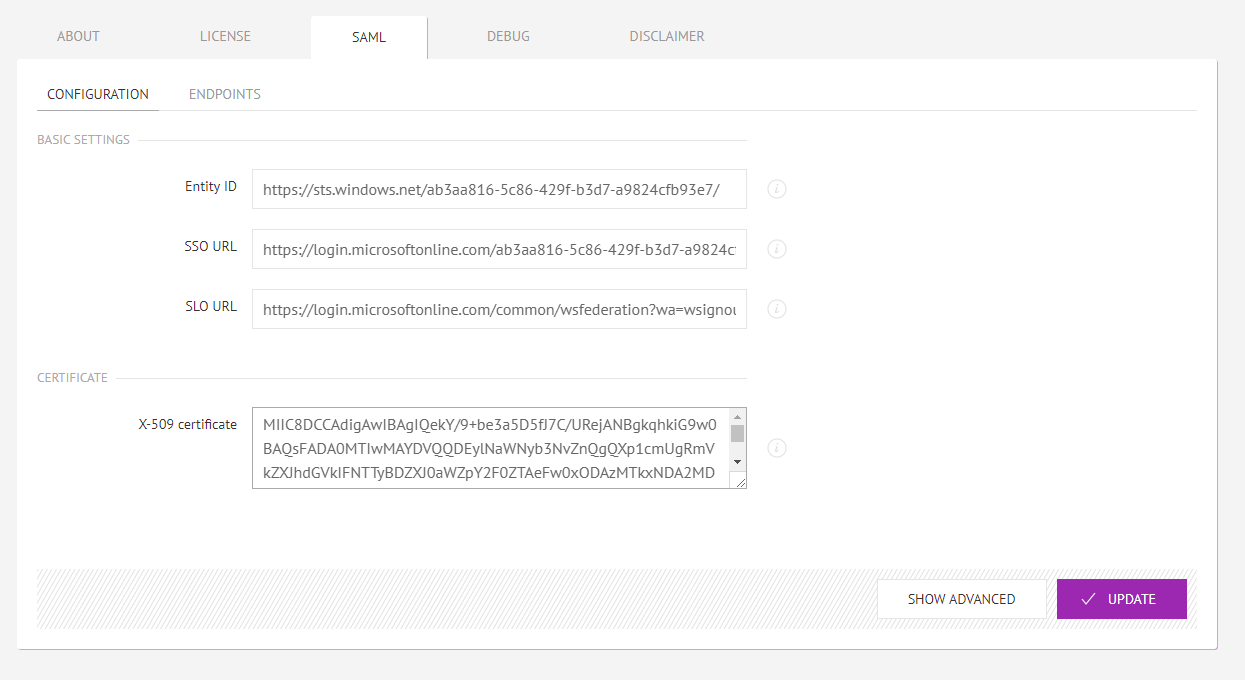
| Exivity SAML setting | Use value |
|---|---|
| Entity ID | SAML Entity ID |
| SSO URL | SAML Single Sign-On Service URL |
| SLO URL | Sign-Out URL |
| X-509 certificate | Download the certificate by clicking the SAML SigningCertificate - Base64 encoded link. Open the |
The Exivity configuration page could look something like this:
- Now unfold the Advanced menu at the bottom of the screen, and paste the following JSON data:
{
  "security": {
    "wantXMLValidation": false
  }
}
- Then in Exivity, click the Update button
- And in your Azure Portal, click the Save button:

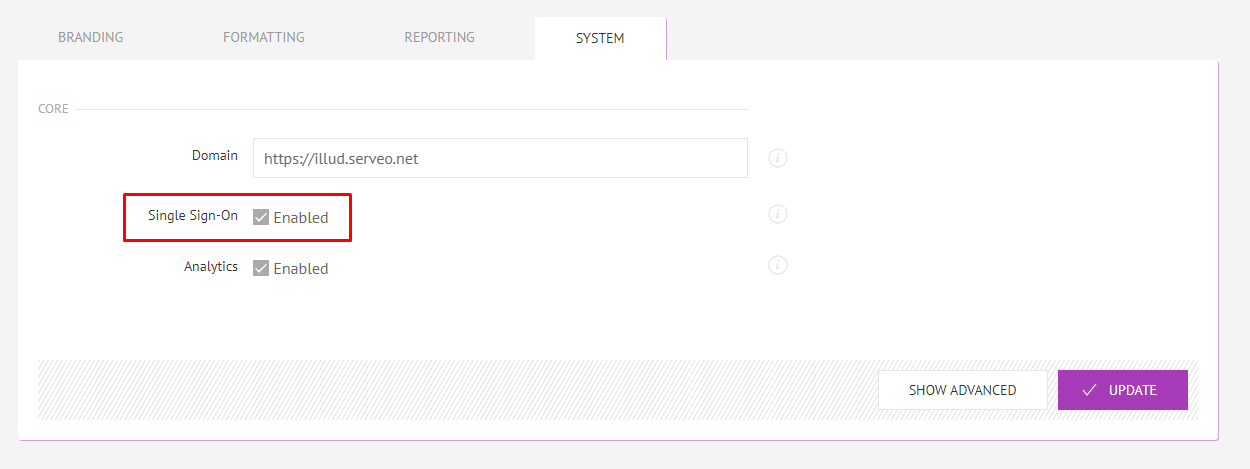
- As the last step, enable Single Sign-On in Exivity by navigating to Administration > Configuration and then clicking on the System tab. Make sure the Single Sign-On option is set to Enabled, and click the Update button:
SSO is now configured and enabled, and you can now use Azure AD to login to your Exivity instance. The login screen will look something like this:

And by clicking on the Login button, you'll be taken to the Azure AD login screen. Exivity will receive the Azure AD e-mail address and create a new user with a minimal set of permissions if no existing user is found.